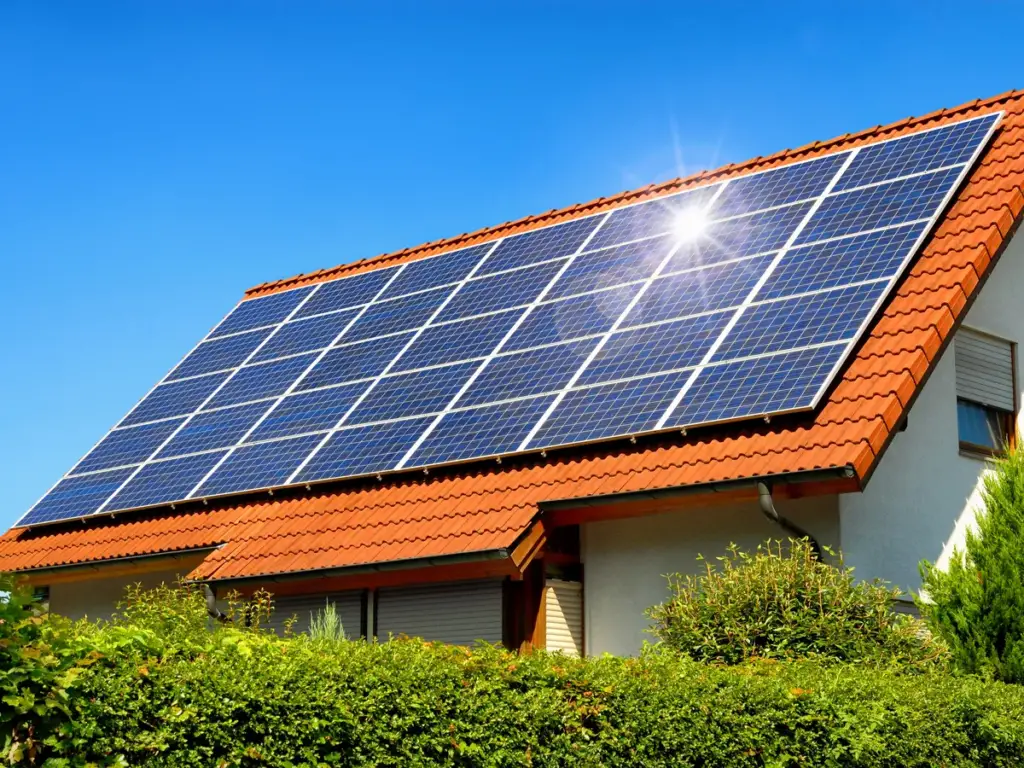
Considering solar energy for your home? Let’s first check if your place is suitable for those sleek panels. Then, it’s about finding a reliable installer. They will handle everything from planning to putting the panels up and ensuring all the paperwork is sorted.
Don’t worry about it, though.
Here, we have offered as much information as possible about the entire solar lights installation process. So, let’s not dilly-dally too much and get started with the article right away.
When Should You Install a Solar Panel?
You want to pick the right time to slap those solar panels on your roof. Don’t go throwing them up there in the dead of winter, especially if you live in a snow-prone area.
Trust me, trying to install them while Jack Frost is doing his thing could turn into a multi-day headache. Plus, who wants to risk getting caught in a winter storm mid-installation?
And hey, keep an eye on the forecast.
You don’t want rain or storms crashing your solar party. Aim for those nice, dry days with calm winds – that’s the sweet spot for getting those panels up safely.
How Do You Install the Panel?
Picture your roof basking in the sun, but instead of just warming up, it’s busy soaking in energy to light up your home. How does it work? Well, think of it as a squad of solar panels teaming up. They act like little power plants, turning sunlight into electricity.
To set them up, you stick them on your roof, connect them, hook them to an inverter, and make sure your home’s electrical system is good to go. Simple as that!
Sometimes, your panels might include several instructions. So, before you start working on it, I’d suggest you go through the entire thing beforehand.
I: Planning the Project
The process of installing a solar panel is quite complex. So, if you don’t have much of an idea on or about what you are doing, the entire project might get jeopardized. Due to this reason, it might be better to plan what you’re going to do first.
A: Determine the Compatibility
First, see if your roof has enough space for solar panels and if it gets plenty of sunlight. Trim any shaded trees if needed. Then, check your roof and electrical panel to make sure they’re in good condition. Fix any issues before starting a solar project.
B: Assess Your Energy Requirements and Get Permits
Figure out whether you want your system to power your entire home or just certain parts of it. Look at how much energy you use to decide on the total size of the system you need to generate enough electricity. This way, you’ll know what type of solar panel you need to purchase.
Before installing solar panels, it’s essential to secure a building permit, usually required in most areas. Make sure to also check if an electrical permit is necessary.
Getting these permits can be time-consuming, so it’s wise to handle them early on. Skipping this step might lead to a building inspector rejecting your installation later. Without proper permits, utility companies won’t permit you to connect to the power grid for on-grid systems.
C: Check Your Incentives and Do Proper Safety Preparation
Most states provide incentives for installing solar panels to save money on energy bills. These incentives often include tax credits, exemptions, and net metering programs. Make sure to review your state’s requirements to see if DIY installations qualify for these benefits.
And don’t forget to stay safe when working on your roof or with electricity.
Use a secure harness and anchors and get advice from an electrician about your wiring.
Do wear protective gear like gloves and goggles and remove any metal jewelry. If you’re digging for a ground mount, call first to avoid hitting gas or electric lines.
II: Install Your Racking System and the Panels
First, measure your roof space and sketch out where you want to place the solar panels you have bought. Then, use chalk lines to mark these spots on your roof.
Follow the manufacturer’s instructions to securely install the racking system. Remember to seal any holes you make with roofing tar or silicone caulk to avoid leaks.
Now, attach the solar panels to the racking system using the provided clamps. Then connect each panel to the ones beside it using wires. This should be enough for this step.
III: Install the Heat Sink and Charge Controller
While not mandatory, using a heat sink is strongly recommended for your panels. It helps lower the heat produced, boosting energy efficiency. If your panels lack a built-in heat sink, follow the manufacturer’s guide to add an external one.
The charge controller sits between your solar panels and battery, allowing electricity to move from the panels to the battery. So, once you are done with the heat sink, you need to install it too. Watch a tutorial video or ask an expert before you do it by yourself.
IV: Include the Solar Battery and Energy Meter Now
You can store extra power from your solar panels in batteries for later, like when it’s dark or cloudy. If you have multiple batteries, connect them and then attach them to the controller.
While not necessary, many systems come with an energy meter to track your electricity usage and generation. If yours doesn’t have one, you can purchase and install the same by using the manufacturer’s instructions. The more crudely you follow everything, the better.
V: Set Up Your Electrical Wiring and Connect Them to the Panel
Before hooking up your system to your home, ensure to review all the wiring carefully. Ground your system properly on the PV panels.
Don’t forget to schedule a city inspector to come out and verify that everything is done right.
After the inspector gives the green light for your setup, connect the inverter to an electrical panel as per the device instructions and flip the switch to activate your system.
For grid connection, reach out to your utility provider, provide inspection approval, and get linked up. Now, you’re all set to harness renewable energy and reap the benefits!
Related posts:

- Harnessing the Power of the Sun: A Guide to Solar Installation - February 12, 2024
- Vacuum Trucks: The Unseen Heroes of Waste Management and Their Environmental Benefits, Featuring McDonald Farms - December 11, 2023
- Satellites And Climate Adaptation: Solutions From Space - December 1, 2023